
The first step in using quick icons is having something for them to link to. They can be linked to anything with a url (that thing that you put into the search bar to get to a website) such as a Page, Portal, News, PDFs Calendar, or an external site.
If you are wanting to know how to upload and retrieve a link, please start here. This guide will assume that you know how to do this already.
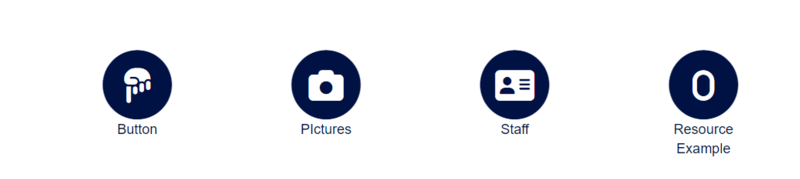
The image to the left is what Quick Icons generally look like. If you are logged in with high enough permissions, you will notice that there is a gear here that will allow you to change settings. This gear will only allow you to change the way the icons and titles look, but not the content.
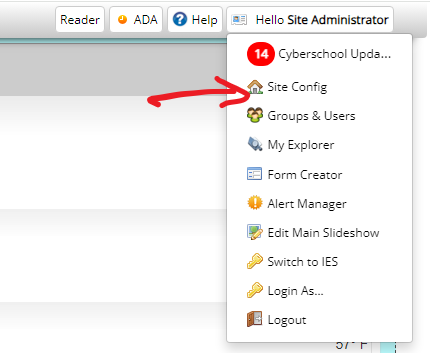
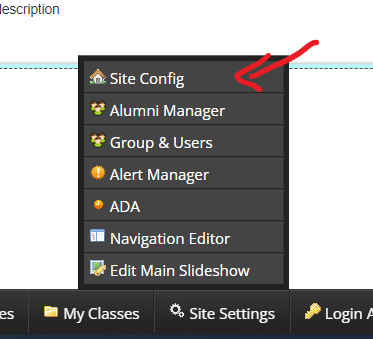
In order to actually change the content of the quick icons, you will have to go to the back end of the site. You can do this by going to either Site Settings in the Dashboard or going to the Greetings button and hover over your accounts name. Doing either of these things will cause a menu to appear. In that menu you will want to click Site Config.
Now on this page you will want to click on Icon Navigation. The icon looks like this.
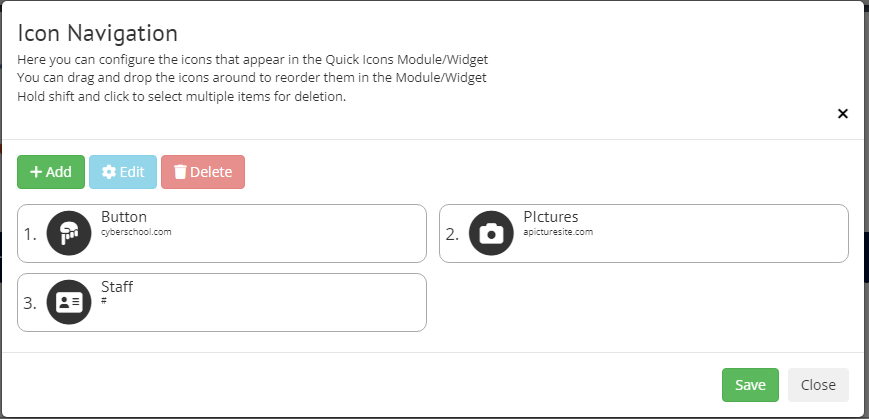
When you click it a box will show up that looks like this. As you can see all of the icons that are on your front page are here.
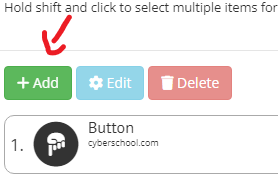
In order to make a new icon, you would click the green + Add button.
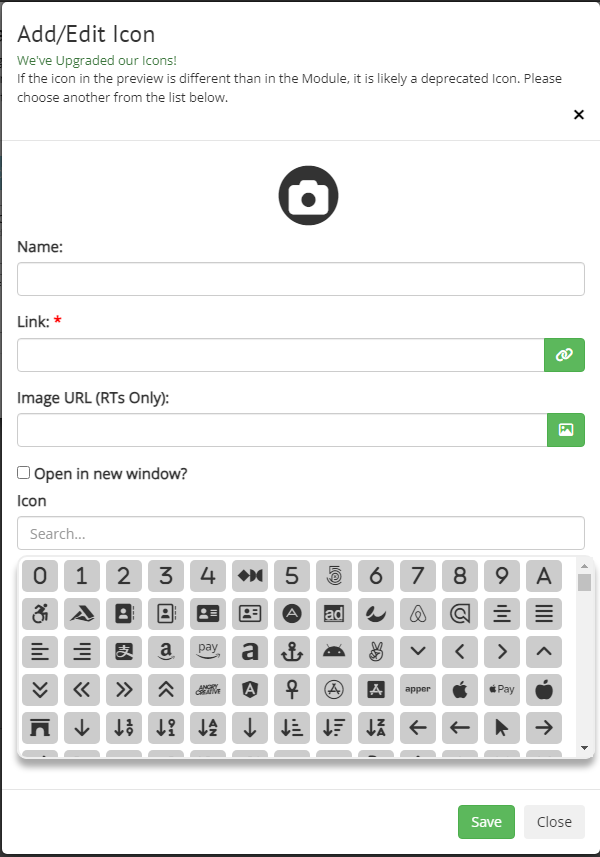
Once you do that another box will appear that is called Add/Edit Icons. It is in this box that you can set what icon or image will be used for this item, what it will be labeled as, and what it will link to.
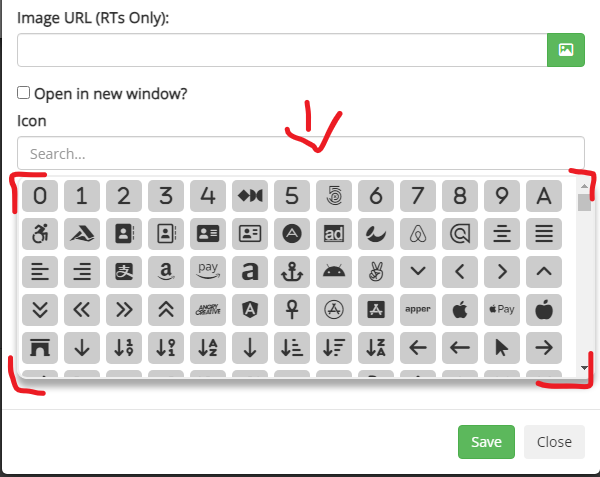
If you want to use a different icon all you need to do is click on one from the icon list at the button at the bottom of them box
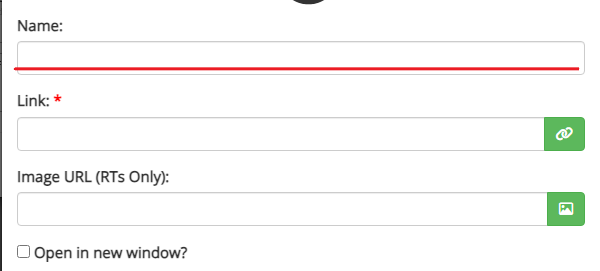
Then you will want to give your future icon a name.
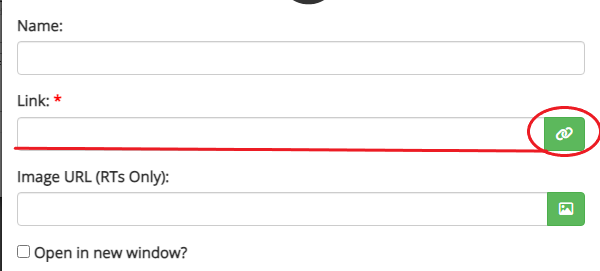
The next box is Link and is required. You can either copy paste or enter a url here manually or you can click the green button to the right of this box to pick for things that have already been up loaded to the server
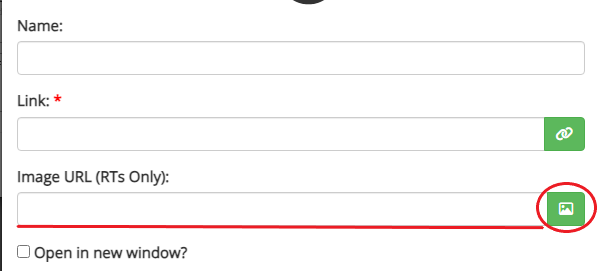
The next box here is for if you want to use an image you already have ( and have uploaded) in place of an Icon. Do keep in mind that if you use an image instead of an icon, some functions like color changing effects will not work.
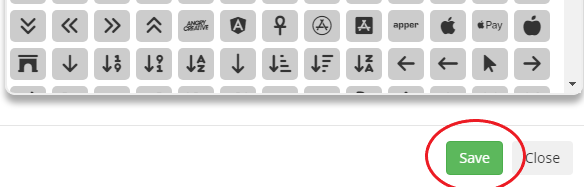
After you have made these changes you can go ahead and hit Save.
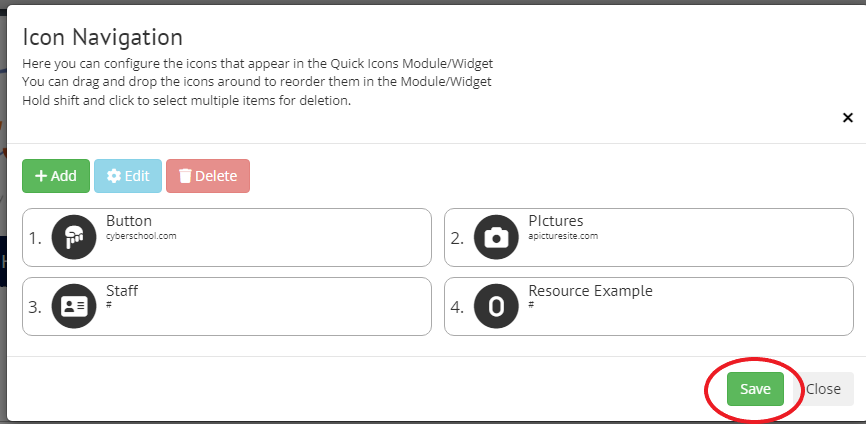
Then Save again in order to have this button added to the list of Quick Icons.
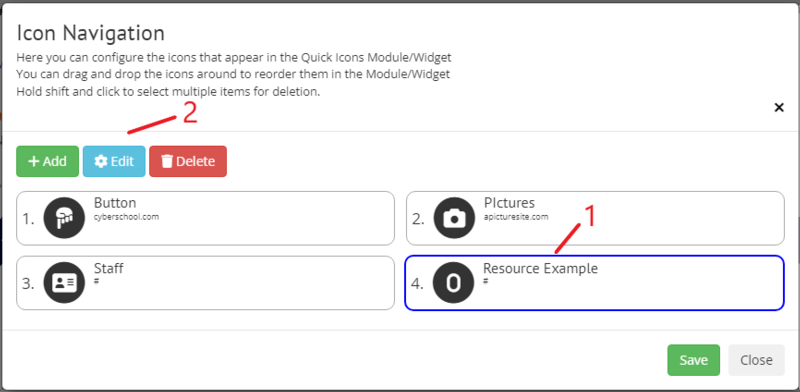
You would navigate back Site Config or Site Settings > Site config > Icon Navigation. From here you would simply click on the button you wish to edit so that a thin blue board shows up around the item that you wish to edit.
Once you do that the Edit button will light up. You will want to click this.
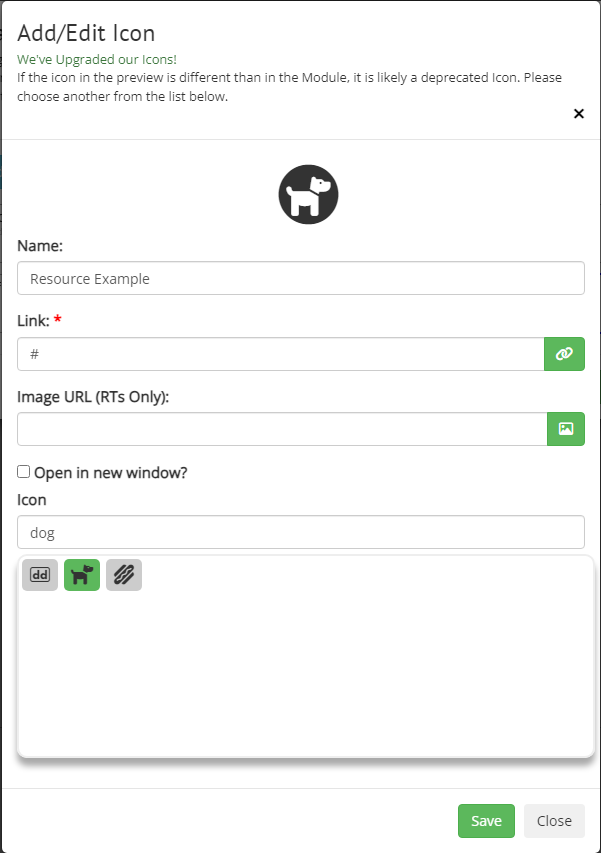
A box, will then appear that looks very/much like the one that used to add a news icon. Everything from then still applies here. Go ahead and make your changes and click save.
If this is the end of the changes you want to do you can go ahead and see save again and go to where a Quick Icons Widget is to see the change.
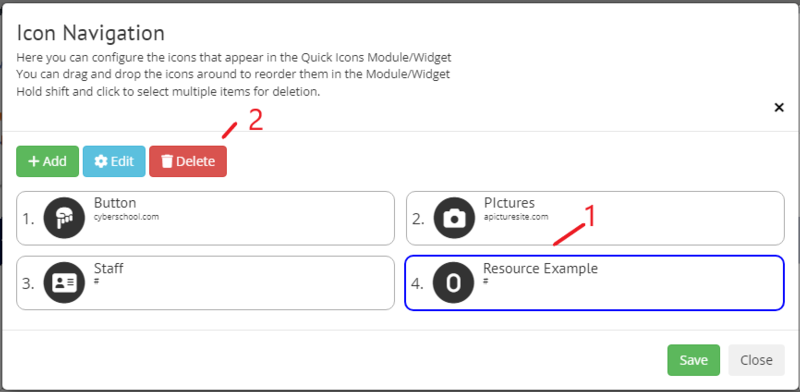
If you wanted to Delete an icon then you would navigate back through to Site Config or Site Settings> Site config > Icon Navigation. You would highlight the item, just like you did when you wanted to edit. This time though you would Click the Delete button that just lighted up. The icon will have disappeared. Save and the navigate back to a page that has a Quick Icon widget to see the change.