
Portals is one of our page types that allow for the addition of widgets and are pretty straightforward to make and use.
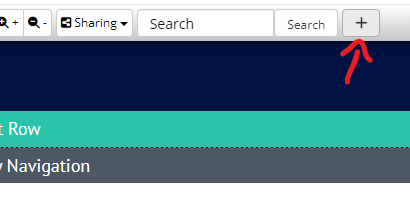
There are a couple ways to make a Portal. The first one would be to go to the quick bar and click the + button and click Portal
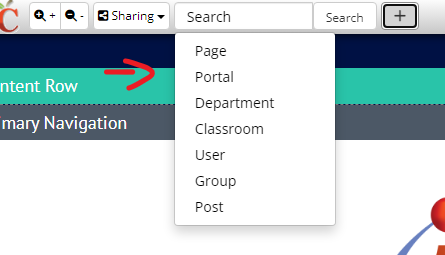
After which this box will show up, asking you to name the portal and give it a URL. These do not have to match but they frequently do. Click Submit
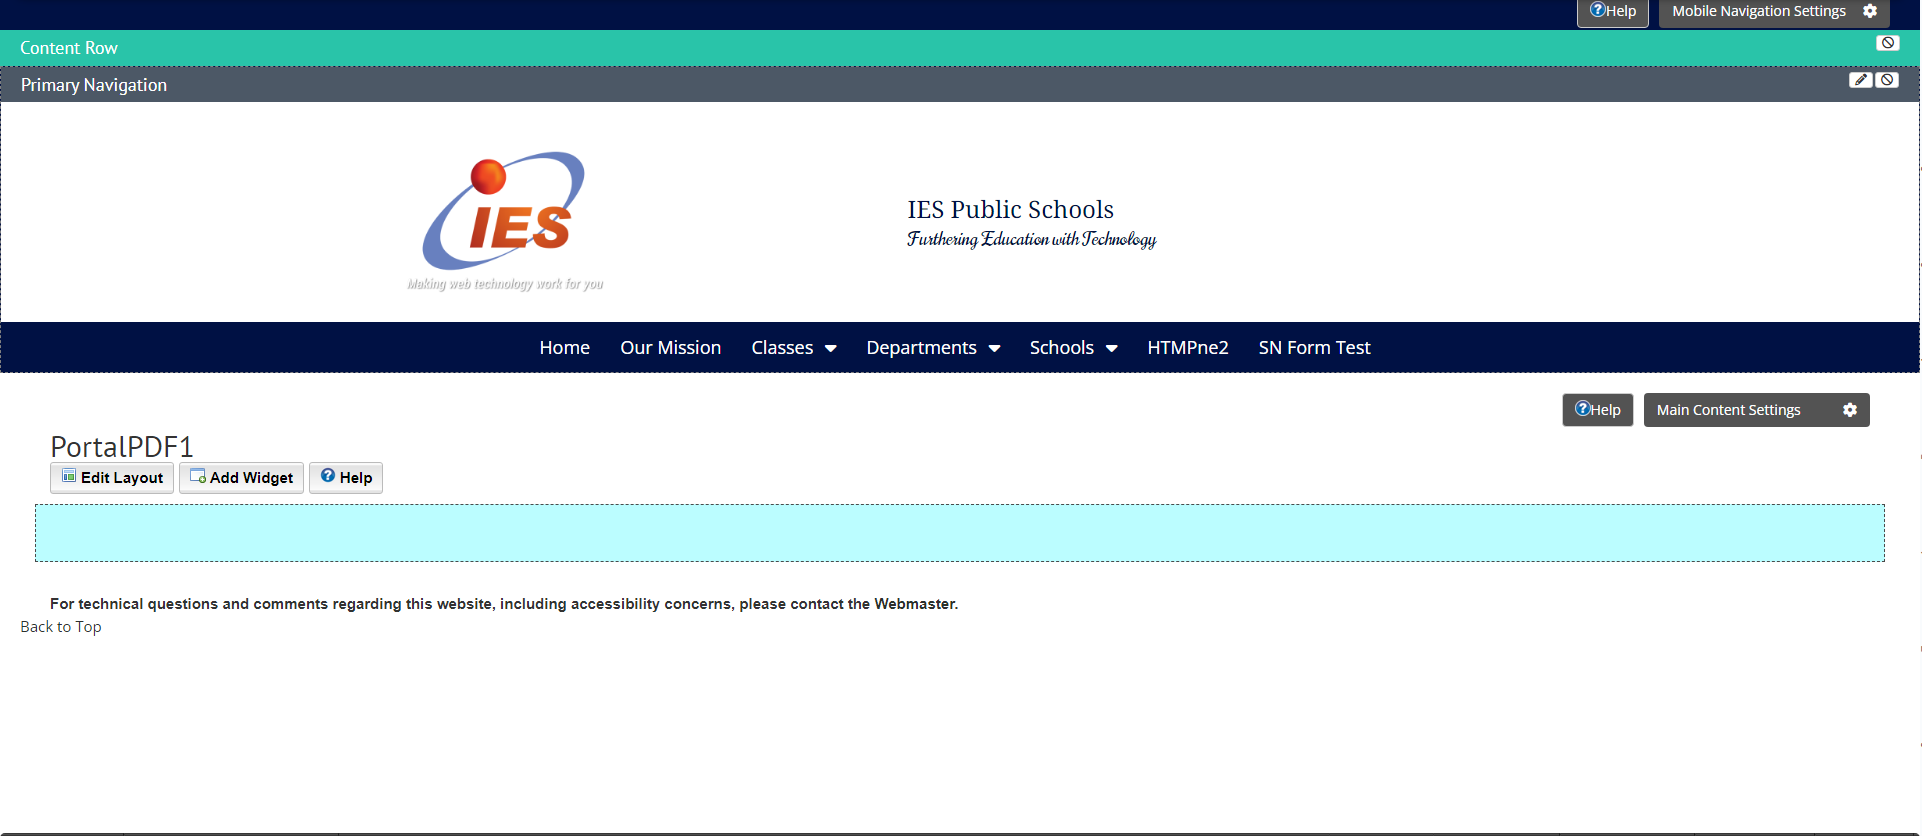
You will be brought to your newly made portal.
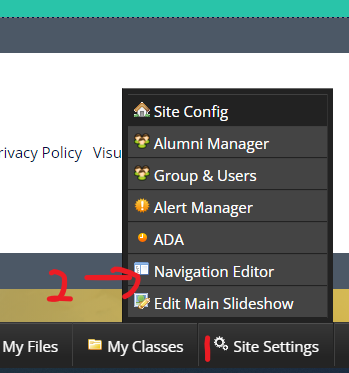
Another way you can add a portal is through the Navigation Editor. You can get to this from the Dashboard if it is enabled. You would Click Site Settings > Navigation Editor.
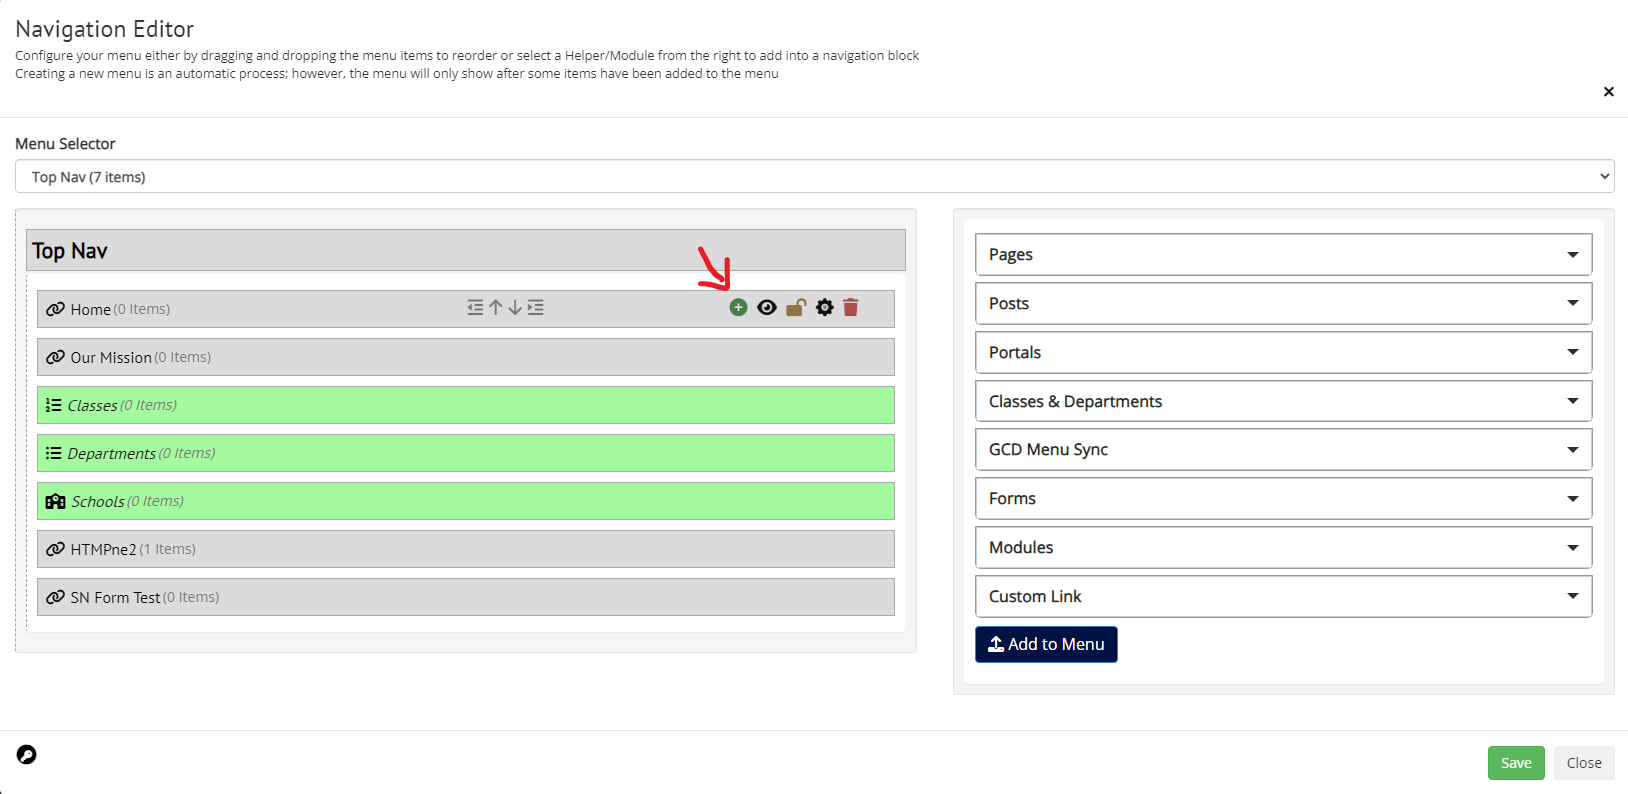
Then the Navigation Editor box will appear. If you hover any of them menu items in a menu or on the menu’s title then you will see some icons to appear in the right of the bar. You are looking for the green circle with + in it.
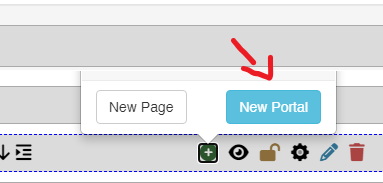
If you click it, a little box will appear. That box will have a “Create page” and a “create portal button.” Click the “Create Portal” Button.
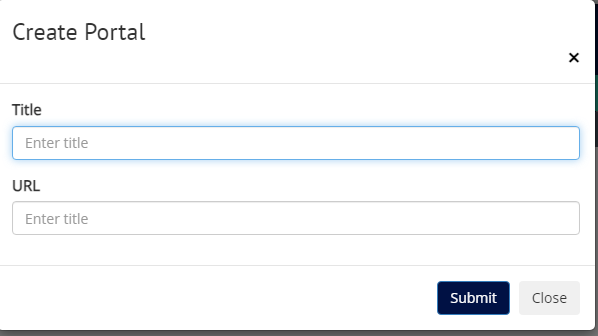
You will then be presented a will box that asks you to name the portal and to give it a url. Click Submit and you will be brought to the new empty Portal.
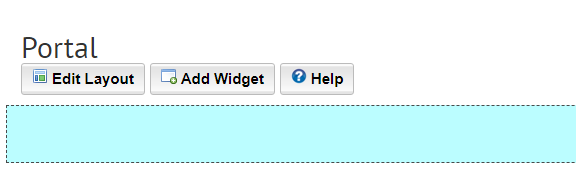
Under the Portal’s name there will be a few buttons: Edit Layout, Add Widget, and Help.
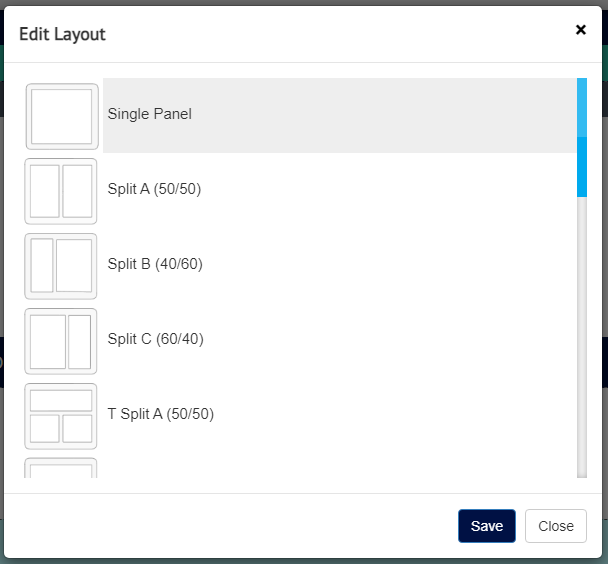
“Edit Layout” will let you change the layout of the page. If you click it, a box will appear that will have a bunch of options on how you can divide your page up. To pick a layout you would only need to click on the layout you wish to use and click save. This can be done whether there are widgets on the page already or not.
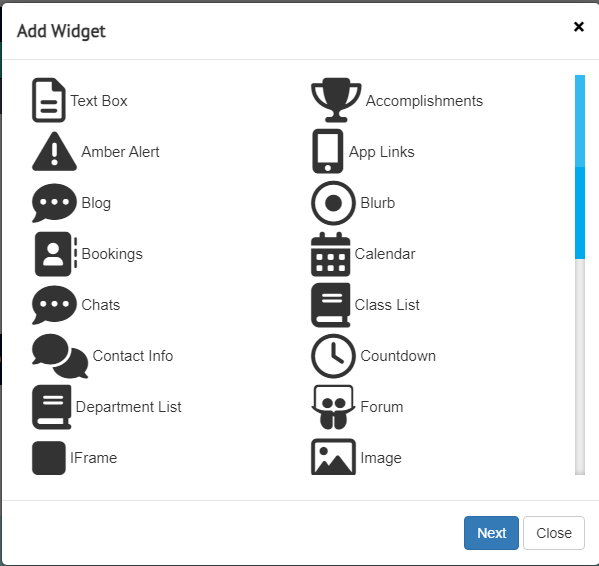
Clicking on “Add Widget” will cause another box to appear. This box will show all the widgets that are available to be used on this portal.
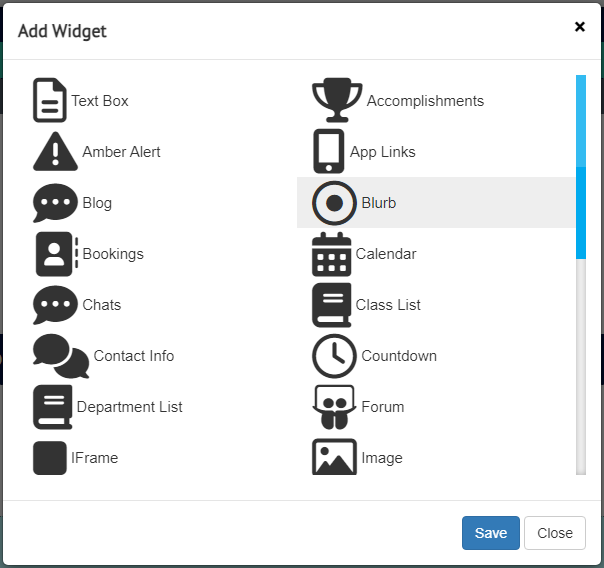
To add one you would click on it so it’s highlighted and then click save. The widget will then be added to the portal.
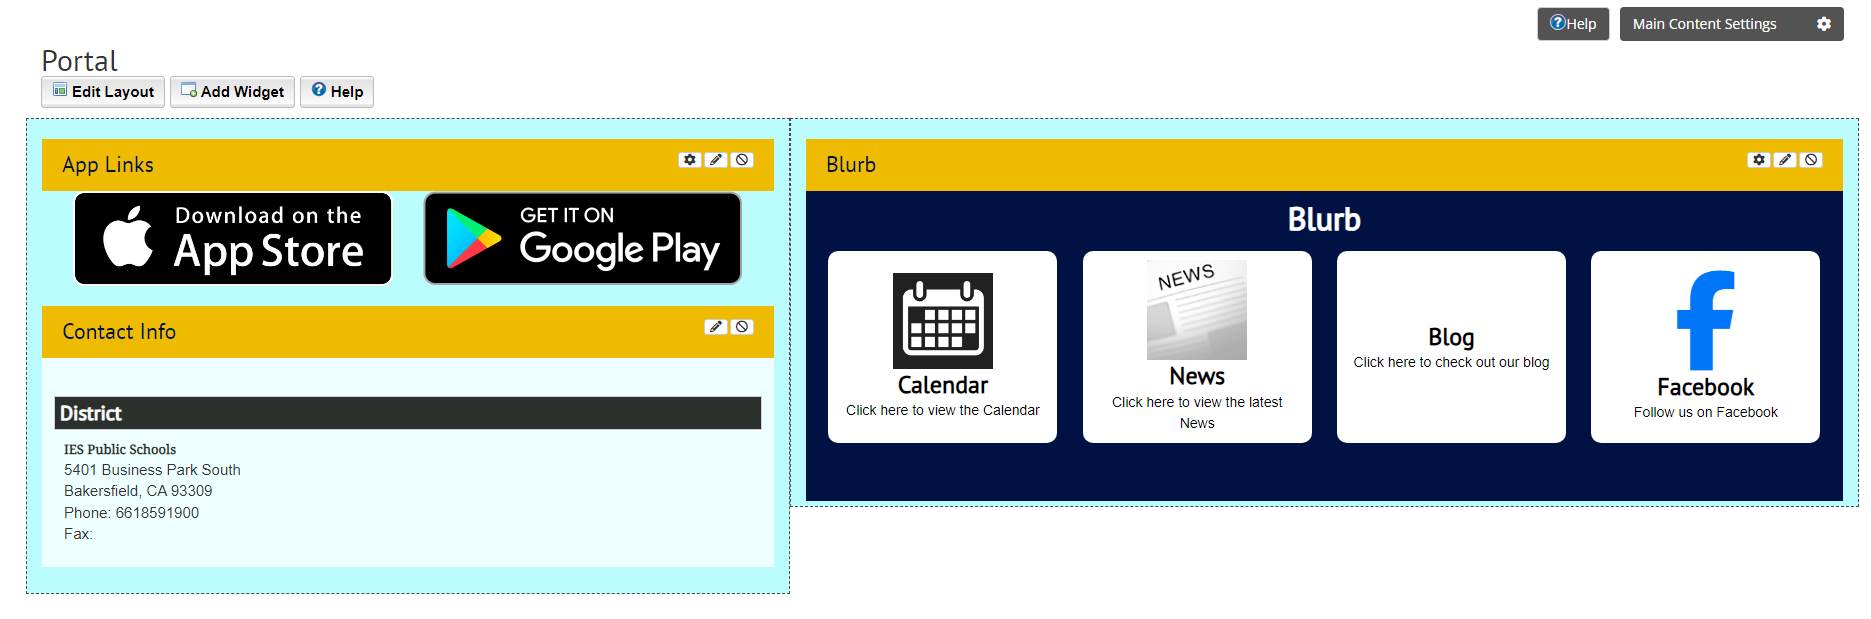
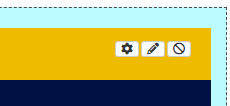
Now that we have widgets in the portal, you can now move the widgets around by dragging and dropping into the sections. Each of these widgets have three buttons in their title bars. These buttons are the settings, the pencil, and the cancel button.
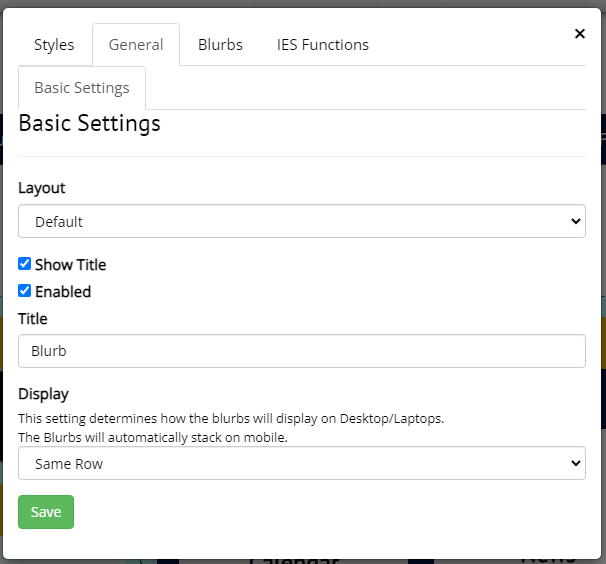
The settings button looks like the gear. It will allow you to access the setting form the widget. The exception is with the Textbox Widget that will send you to the Text Editor.
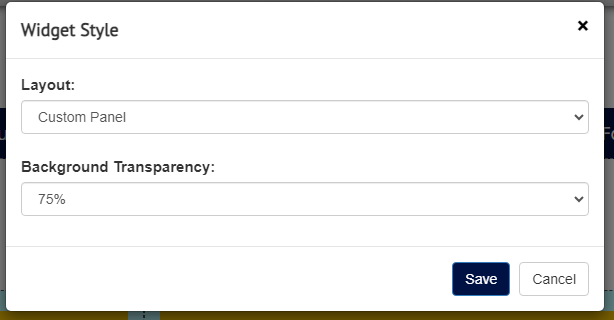
The pencil button will allow you to change the way the title bar here looks or hide it entirely. If you decide to hide it, please note that these buttons will now be findable by hovering in the top left of the widget box.
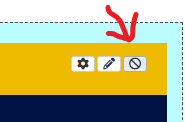
The next button is the cancel or delete button and it deletes your widget.
That’s the basics on how portals work. You may encounter similar looking areas in Departments, Classrooms, and in the middle of the Home page but they all work the same.